
Proper microphone placement is essential for recording great sounding audio, whether for video shoots, music or podcasts. And being wireless, the Audigo smart microphone makes it extremely easy to put the mic just where you want it. To optimize your recording process, it is important to understand the basics of how the microphone works and some best practices for mic placement while recording.
The Audigo mic is a mid-side microphone. This means that the microphone records from the front and the left and right sides, but not from the back where the USB-C charging port is. With this mid-side pair of condenser microphones Audigo gives you a directional microphone for ambient noise rejection or a variable-width stereo microphone to add more depth to your recording. Unlike other products, Audigo allows users to adjust these settings after the recording has been captured - try 0% stereo width for a crisp vocal or 25-50% to enhance an acoustic guitar.
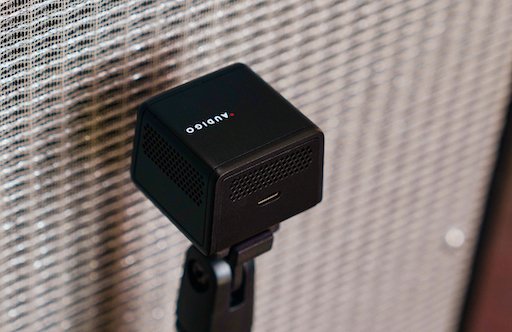
The mic has a unique magnetic base which makes it easy to attach to various surfaces and a companion magnetic mount screws on to standard ⅝’ threaded mic stands for even more options. You can also detach the top part of the mount to connect to a ¼”-20 thread for use with mini tripods, selfie sticks or camera cold shoe adapters.
To ensure you get the best possible recordings with Audigo, here are some tips for mic placement and level setting:
Proximity to sound source
When recording with the Audigo microphone, close-miking is generally recommended. This miking technique calls for the microphone to be within close range of the sound source (typically within 2ft or less) without causing distortion / clipping. This improves isolation of the sound especially when in the presence of other sound sources.
Placement
The placement of your microphone will depend on the type of recording you are creating. For recording a podcast, close-miking will be the best option to capture the clearest vocals from the host and guests. For recording something like a five-piece band, you will want to place the mic at the center of the band and closest to the vocalist.
Levels
Once you have a desired placement, test the levels of your sound source. This can be done by starting a new project and tapping ‘Soundcheck’ towards the bottom of the screen. Adjust the mic sensitivity by increasing or decreasing the gain which determines how much sound will be picked up during recording. When seeking to record quiet or distant sounds, increasing the gain will be necessary. When recording louder, closer sounds, decreasing the gain will be necessary.
Clipping
Clipping occurs when the sound source is too loud or too close to the microphone and it begins to distort the sound. This can be easily fixed by creating more distance between the microphone and the sound source and/or reducing the gain in soundcheck mode of the Audigo app prior to recording. Do this by adjusting the level with the slider so that the reading fills up as much of the green portion of the meter without ever reaching the red portion.
We are always here to help our supporters get the highest quality content out of Audigo. For more information on mic setup and placement, please email us at info@audigolabs.com.
